Brooders
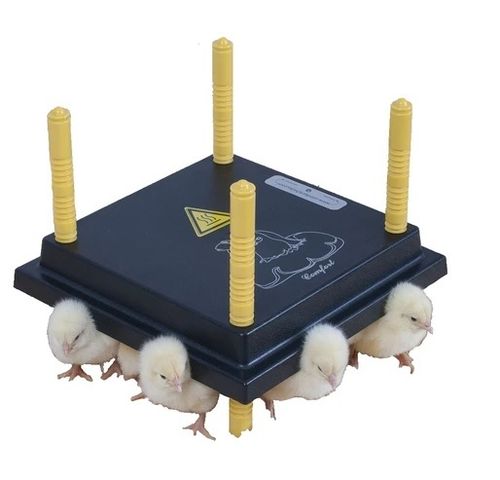
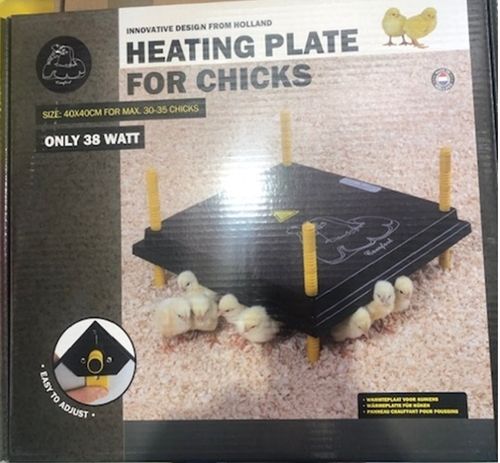
Using the ceramic heat chicken brooder. Simply scroll down to product folders or products on this page if you do not want to read about the brooders and how to use them, i.e you already know about them.
Select the size of heat element from the chart below. Remember that the size of the element for the chick numbers listed presumes that the shed is enclosed with some insulation, and has a room temperature about 15 degrees. If the shed is open, and in a very cold area, a larger element should be selected. You will require a box or surround to keep the chicks together.
If you are brooding small numbers of chicks or "baby" poultry, a large cardboard brooder box is adequate, and has the advantage that it can be easily disposed of after chick brooding is finished. A strip of sheet metal also will make a good surround as the size can be varied as the chicks grow. As a rule of thumb, a 1.5 metre diameter circle will be adequate to start 100 chicken chicks at 2-3 weeks of age. The circle could be closed up to 1 metre at day old and expanded as the chicks grow. Wood shavings or rice hulls make suitable coverings for the floor.
Adequate feed and water is essential, and feeders and waterers should be selected for the number and type of chicks brooded.
Hang the brooder assembly from the roof at the starting height recommended in the chart. This is a recommended starting point. Turn on the brooder 1 hour before placing the chicks in the brooder area. A trick we use to know the correct heat of the brooder is to keep our hands warm in our pocket for a few minutes, then place it on the floor immediately under the centre of the brooder. You should feel a mild warmth on the back of your hand which equates roughly to 35 degrees radiant heat temperature on the chicks.
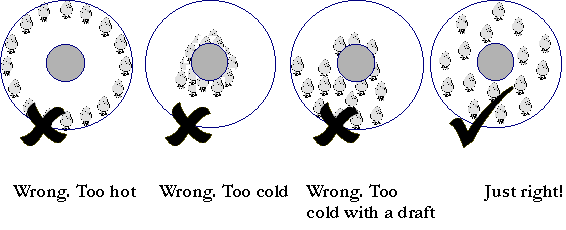
Let the chicks settle for an hour or so and then check to see how they are settling. The chicks should look comfortable and be evenly distributed across the brooder area.
If the chicks huddle together then lower the lamp as the chicks are cold. If they are all round the outside of the box then raise the lamp as they are too hot. If they are all on one side of the brooder area this usually indicates a draft. Check the chicks in the evening or early morning at the coolest times to make sure the chicks are not too cold. Raise the height of the brooder assembly as time goes on. Use the chart as a guide. If the weather becomes colder the brooder assembly may need to be lowered slightly. Raising the assembly will increase the area covered but reduce the intensity. Lowering the brooder will increase the intensity but reduce the area covered.
Remember that pheasant and quail chicks will require a little more heat than chickens.

More information on Successful Brooding
View Part one of three videos, explaining brooders and chicken brooding
Classic view
*
inc Gst exc delivery

